I've been itching to change some things around the house,
but alas...time is never on my side.
I have a whole list of projects I would like to tackle around the house, but really it is the absolute worst time of the year for us to try any sort of said projects.
With that said...I decided it would be a great idea to add stripes to our powder room. Without letting myself think too much about the work involved I measured my stripes (15" thick), chalked up the walls and started taping.
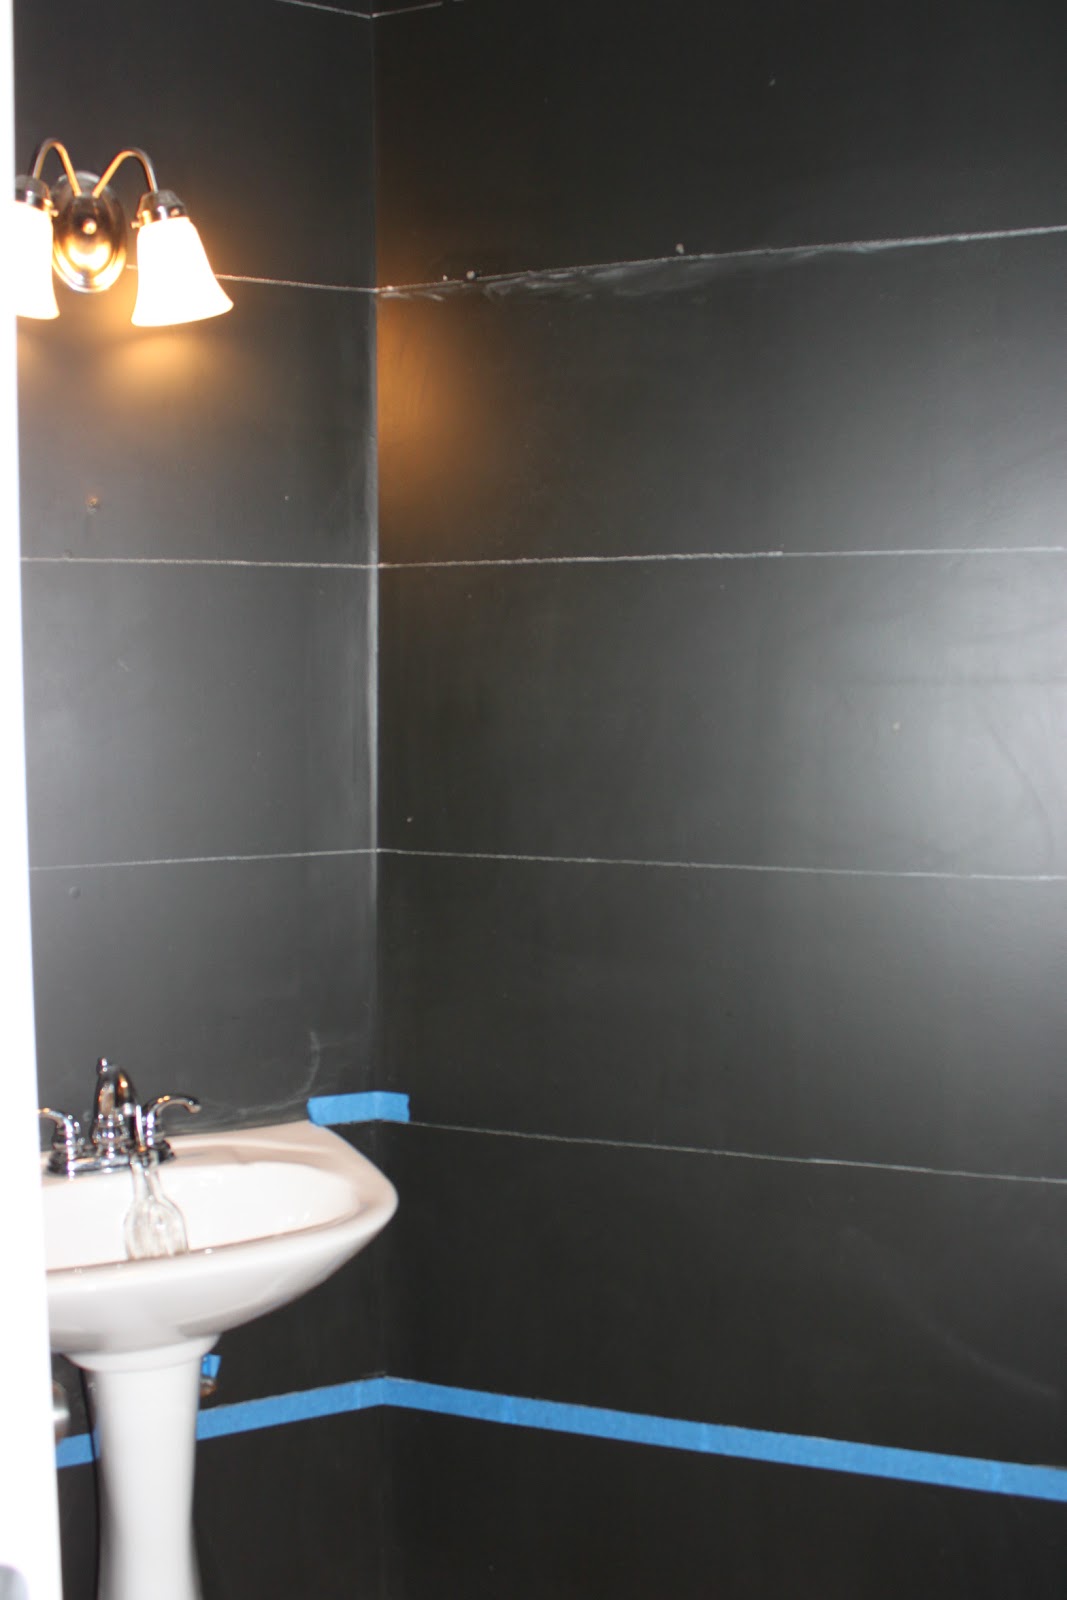


And all finished!
Just need Bryan home long enough to hang the sign.
I worked on this project for a total of 3 days in between all the craziness that makes up our house during the week.
Now here is where I kind of went and lost my mind. After my stripes were finished, I had paint left over in the paint pan. Instead of simply pouring the paint back in the can like a sane normal person would do, I decided that I wanted to paint our sofa table.
Here is a before picture.

So I hauled the sofa table out to the driveway, sanded it a little and then started painting. The piece is solid wood so the process of refinishing it is rather simple. I had the piece painted in no time at all; however, in the back of my mind I knew I wanted to add something fun to make the piece pop...
Chevron Stripes
And that my friends is where the work really began. I have read several tutorials on how to get those fun and funky chevron stripes, but they all seems way too time consuming and I wasn't feeling patient enough to do that. So I went online, stumbled upon a blog that linked to a free template that could be traced. Bam! I printed the template on card stock and then got to tracing. I wanted the stripes to be smaller which really requires more work in the end. These are 1" stripes. The template I printed had a 2" version also,
but the 1" seemed way more fun to look at.

See my template...I traced at all along the top of the piece. When I finished a row I just placed the template under the first row to start the next.
Does that make sense?
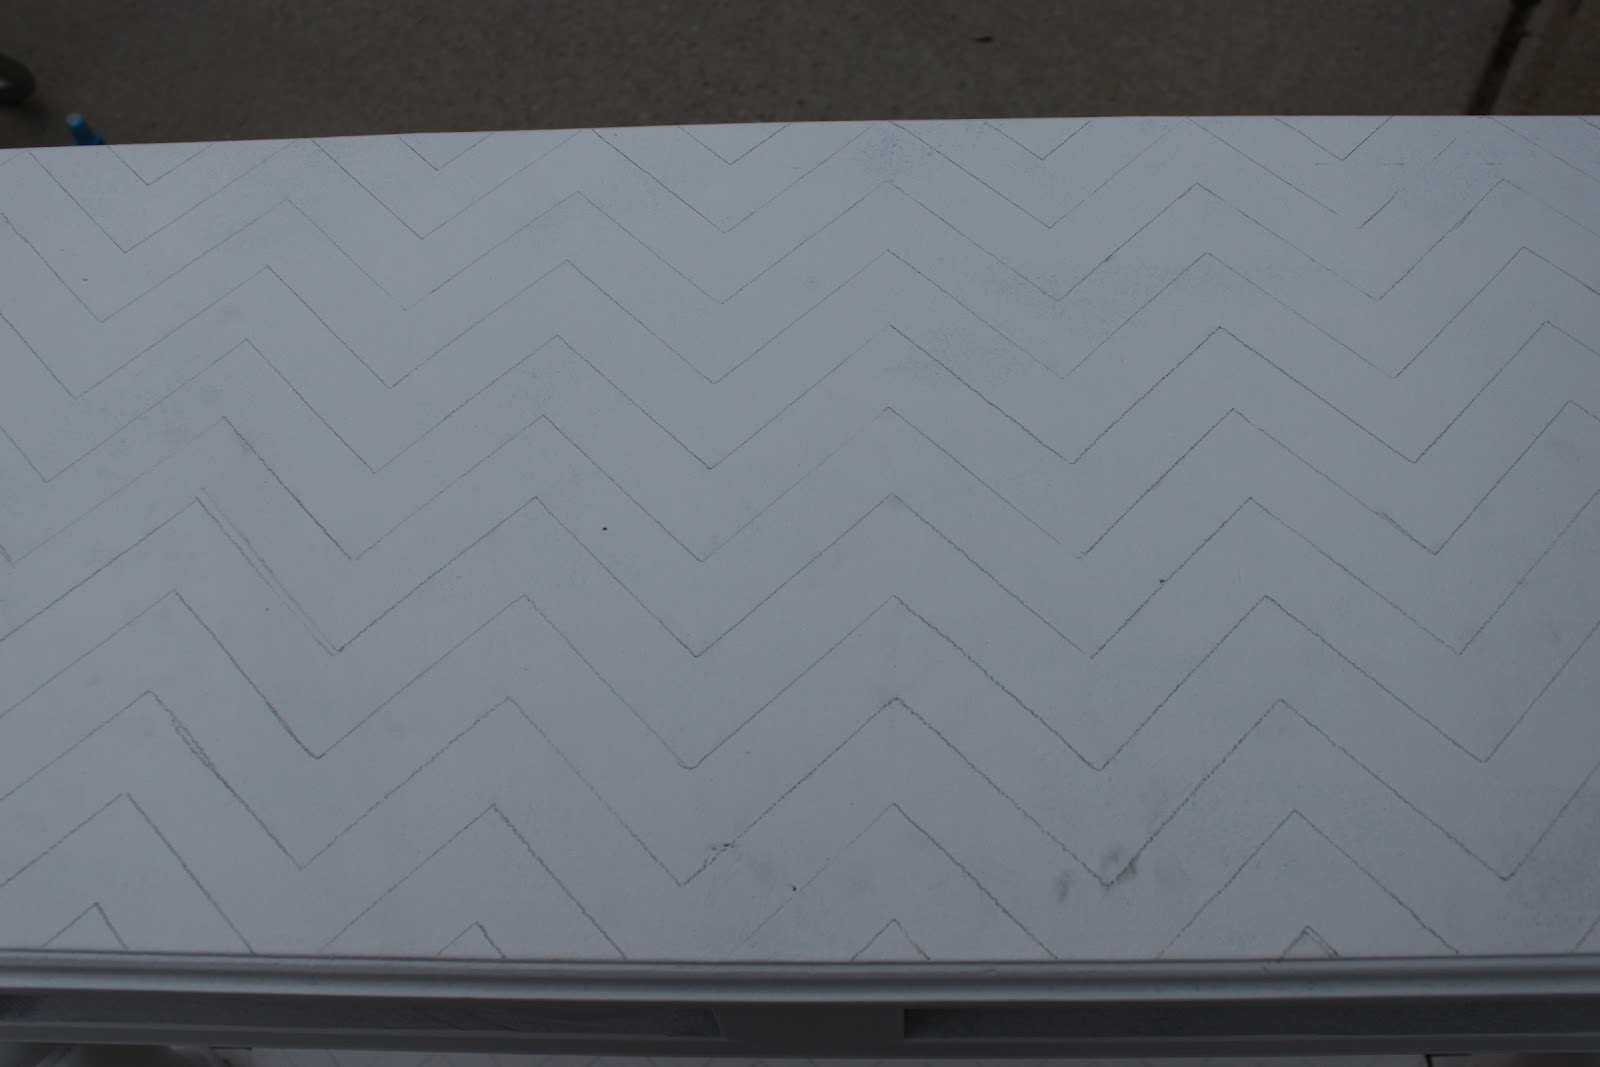
The lines are finished and ready to be taped.
I wasn't too worried about the pencil lines because I knew once it was painted and distressed you wouldn't be able to see them.

Taping time. This was a bit tedious, but once I found my groove I was moving pretty fast. You will need a box cutter to trim the tape. After trimming the tape make sure you go back and press all of the edges down on the tape before painting to prevent "bleeding".

All taped up and ready for paint.

I used a sponge brush to apply the paint. I liked using a sponge brush on this type project because it gives a smooth finish, was super easy to work with and was super cheap so I can tossed it when I was finished. I didn't wait for the paint to dry before I started pulling the tape off. This is a good rule of thumb when painting any sort of stripes.

After all the painting was dry I took a fine grit sandpaper (220) to it to give it a slight distressed look. I didn't apply much pressure when sanding, because I didn't want to distress the piece too much. After sanding I added a wax finish. Since the family is in the furniture business I just happen to have access to cool product called Flag Wax. One section at a time I added the wax on with a brush and then would buff the wax off with a soft rag. This process left my cotton ball white paint with a lovely antique white look.

Up close of the light distressing finished with wax.
And here is the finished product...my "new" sofa table.


It was a lot of work, but I LOVE it. It turned out exactly as I pictured in my head.
Sydney even said,
"This looks so good it looks like you didn't do it, but someone else did".
I'm taking that as a compliment!
Now we just need to get the room this piece is in painted...cream or gray?
And we need a new couch.
And maybe new curtains.
Maybe.
No comments:
Post a Comment